Calibrate A Pipette using an analytical balance is a standard method in laboratories.
The detailed steps are as follows:
1. Pre-Calibration Preparation:
Environmental Requirements
Temperature: The room temperature must be stable at 20 ± 1°C. Significant temperature fluctuations can affect the density of the liquid.
Airflow and Vibration: Avoid drafts and vibrations. Turn off fume hoods and ensure the balance is isolated from any sources of vibration.
Humidity: Maintain a relative humidity of 45%-65% to prevent rapid evaporation of the liquid.
2. Instruments and Consumables
|
|
 |
|

The pipette to be calibrated Original pipette tips.
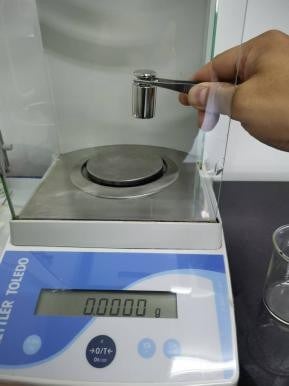
An analytical balance (readability of 0.1 mg or better), which has been recently calibrated and is perfectly level.
A bottle of distilled or deionized water (the density at 20°C is approximately 1 g/mL).
A clean beaker (50-100 mL) to receive the water for weighing.
A thermometer to measure the water temperature for density correction.
3. Calibration Steps (Example: 100-1000 µL Single-Channel Pipette)
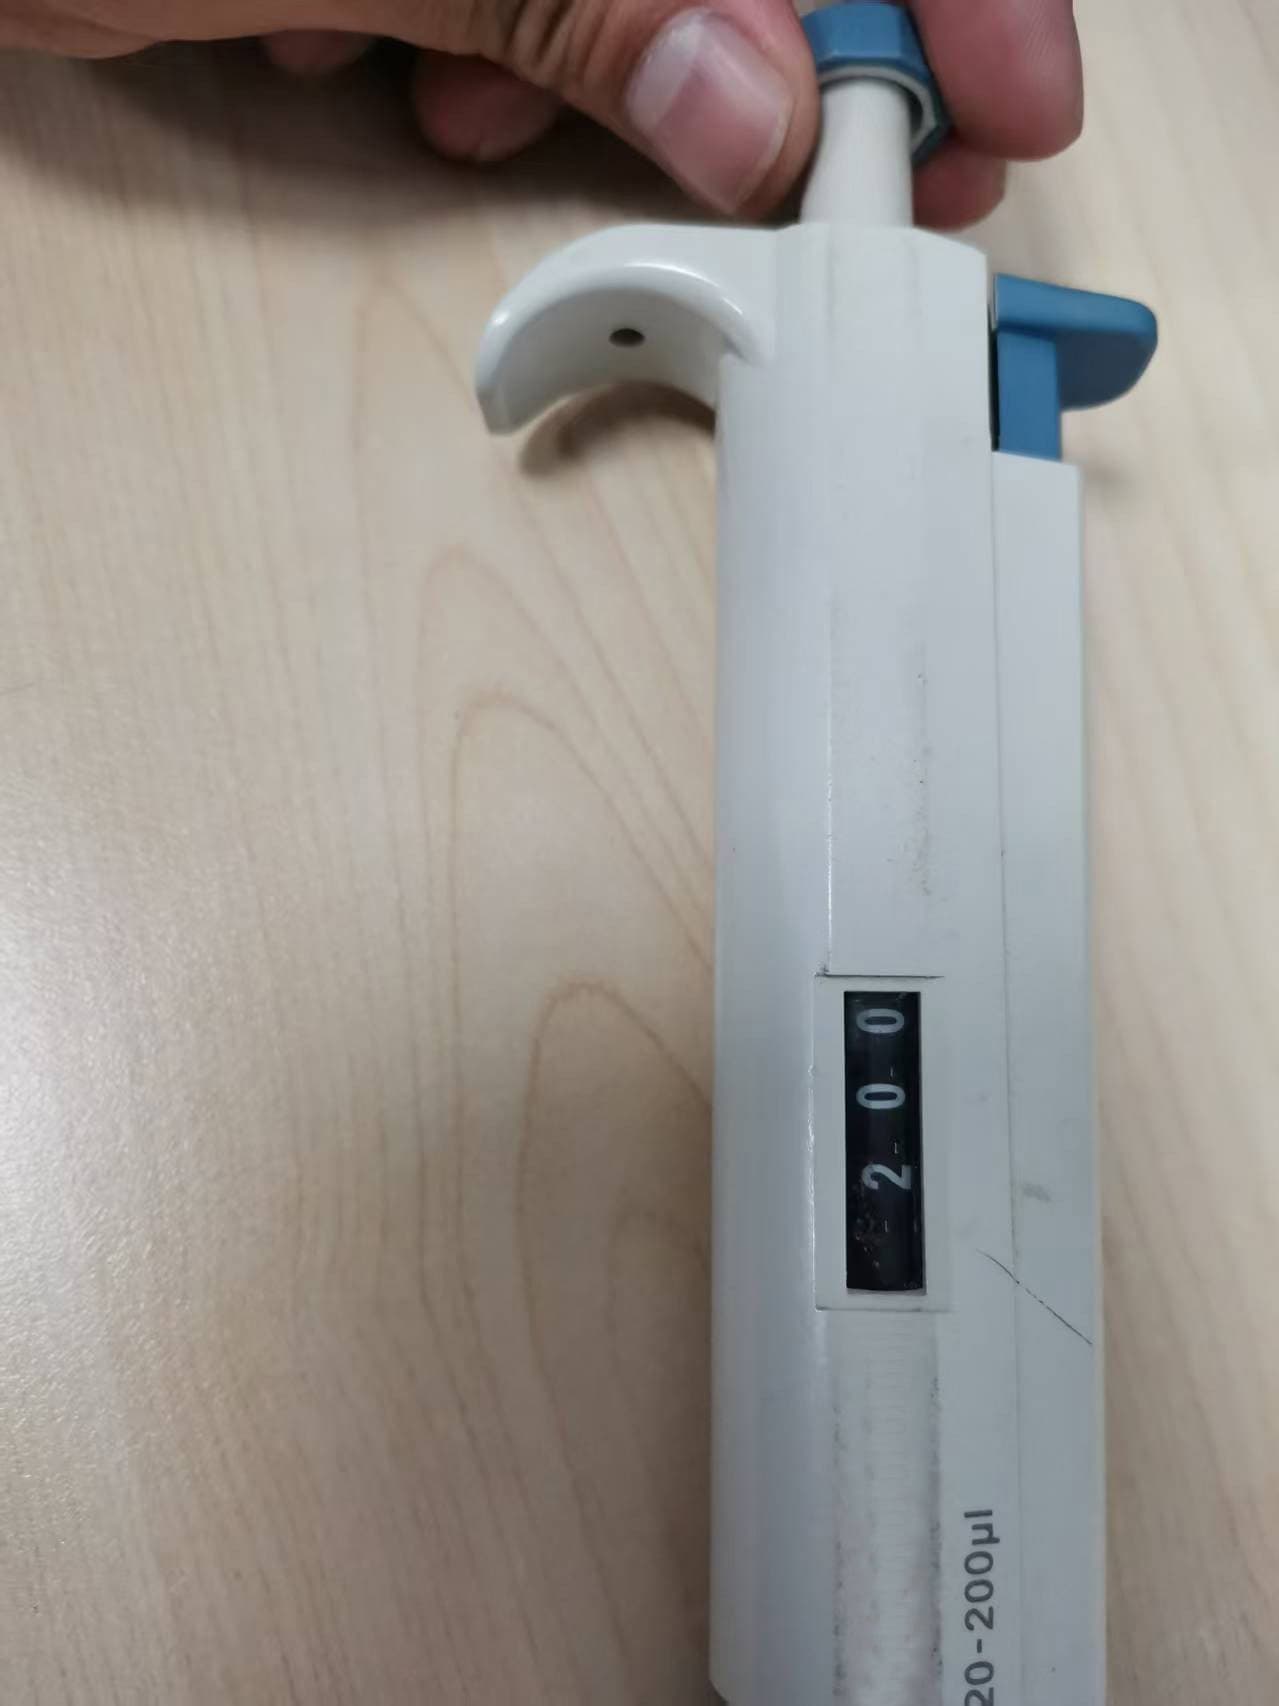 |
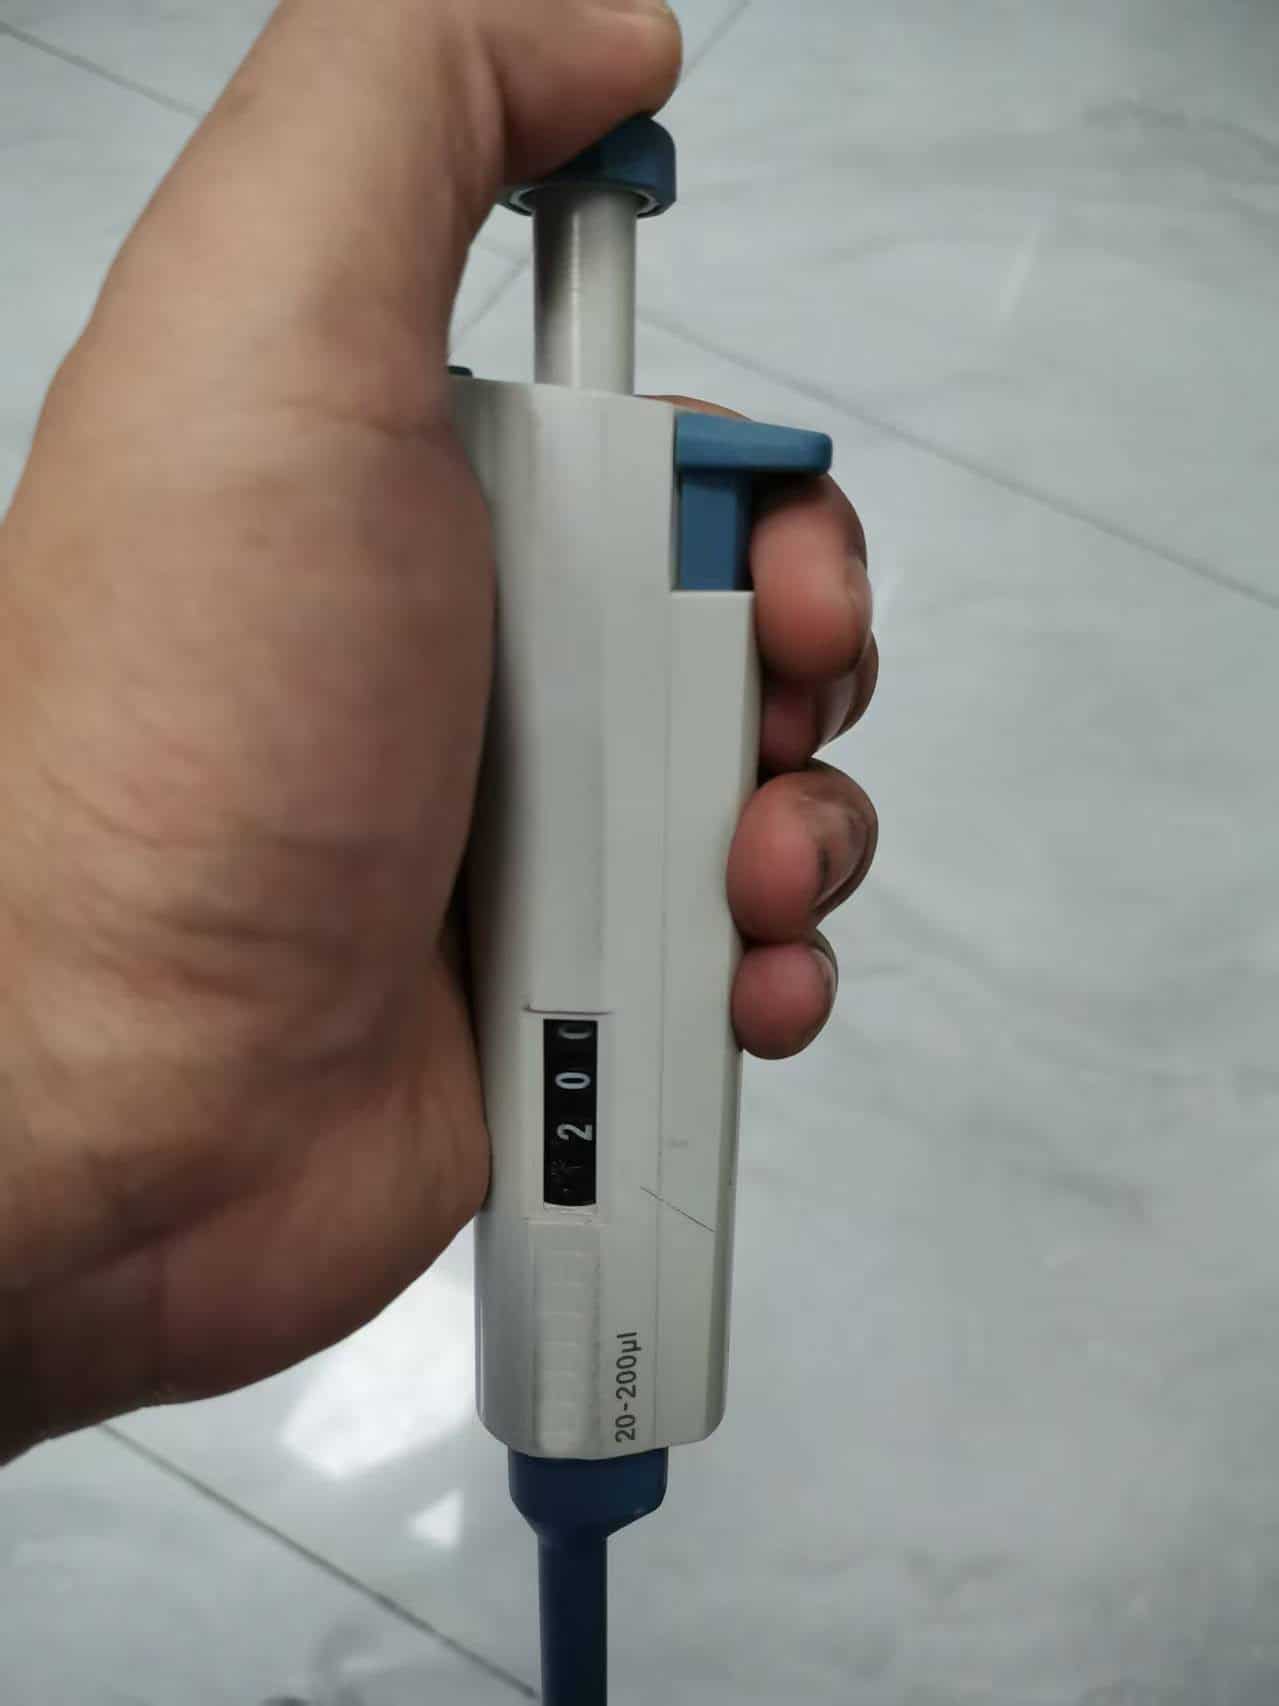
1. Set the Calibration Volumes
Based on the pipette’s range, select three calibration points (this is known as a three-point calibration). These are typically set at 10%, 50%, and 100% of the nominal volume.
Example: For a 1000 µL pipette, the calibration points are 100 µL, 500 µL, and 1000 µL.
(Turn the pipette’s volume adjustment knob to the target volume. Do not turn the dial beyond the maximum volume limit.)
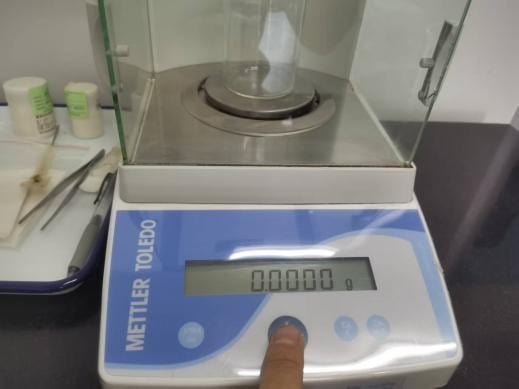
2. Tare the Balance
 |
Place the empty beaker on the balance pan and press the “Tare” or “Zero” key.
3. Aspirate and Weigh (Repeat 3 Times for Each Volume)
Aspiration Procedure:
 |
 |
Attach a new pipette tip, ensuring a firm, airtight seal.
Press the plunger down slowly and smoothly to the first stop. Immerse the tip vertically 1-3 mm below the surface of the distilled water (avoid immersing too deep, which can cause excess water to cling to the outside of the tip).
Release the plunger slowly and smoothly to aspirate the water. Wait 1-2 seconds to ensure the full volume of liquid has been drawn into the tip, then withdraw the tip from the water.
 |
Dispensing and Weighing Procedure:
Place the tip against the inside wall of the beaker. Press the plunger slowly and smoothly down to the first stop. Pause for 1-2 seconds, then press the plunger down to the second stop (the “blowout” position) to expel any remaining liquid.
Keeping the plunger fully depressed, slide the tip up the inside wall to remove it from the beaker, and then allow the plunger to return to its resting position.
Record the mass displayed on the balance (in mg). Tare the balance to zero before the next measurement.
Repeat the aspiration and dispensing steps at least 3 times for each calibration point and calculate the average mass.
4. Temperature Correction (Key Step)
If the water temperature is not exactly 20°C, you must apply a density correction to the mass.
Example: At 25°C, the density of water is 0.99704 g/mL. The theoretical mass of 1000 µL (1 mL) of water at this temperature would be 997.04 mg.
7.4.4 Post-Calibration Procedures
If the calculated error is within the manufacturer’s specified tolerance, the pipette can continue to be used.
If the error is outside the acceptable range, the pipette must be adjusted using its calibration tool (some models have a built-in or hidden calibration function).
Clean the pipette: Wipe the exterior with 75% ethanol and ensure the tip ejector is functioning correctly.
7.4.5 Precautions
Always operate the plunger slowly and smoothly during aspiration and dispensing to minimize air bubble formation.
The deviation (precision) for multiple measurements at the same calibration point should be ≤ 1%.
7.4.6 Routine Pipette Maintenance
Daily Cleaning: At the end of each day, or if a spill occurs, wipe the exterior of the pipette with a lint-free cloth and a 70% ethanol solution.
Regular Inspection: Users should periodically inspect the pipette for any signs of physical damage, such as cracks in the handle, nicks on the tip cone, or corrosion. The tip cone must be kept clean and free of any sample residue.
Proper Storage: When not in use, set the pipette’s volume to its maximum setting. This relieves tension on the internal spring and prolongs its life. Always store pipettes vertically on a dedicated pipette stand or carousel. Never lay a pipette horizontally on the lab bench.
To understand the fundamental principles common to all types of Pipette, be sure to read our main article: What Is a a pipette.
This guide is maintained by HINOTEK’s core technical team, comprised of senior engineers and application scientists with over two decades of hands-on experience in fields such as microscopy, centrifugation, and spectrophotometry. We are committed to ensuring that every piece of information in this guide—from instrument principles and technical specifications to laboratory procurement advice—maintains the highest level of accuracy and timeliness.
This content is regularly reviewed and updated to reflect the latest industry standards and technological advancements. We value feedback from the global scientific community. Should you have any questions or suggestions, or wish to discuss any technical details, please do not hesitate to contact our expert team at [email protected].